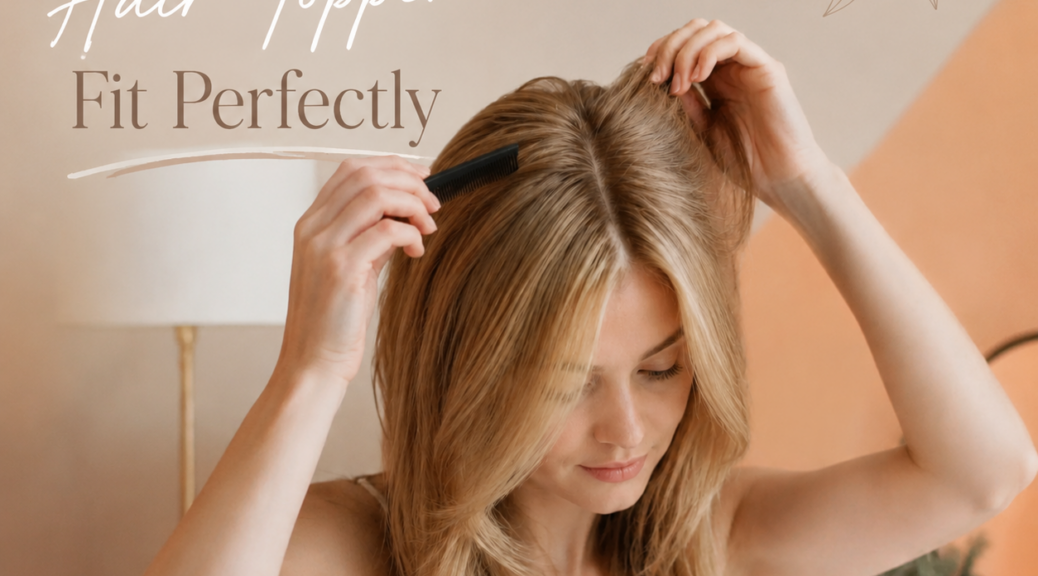
How to Make Your Hair Topper Fit Perfectly
Investing in high-quality human hair toppers for women is such an important step to address hair thinning. A good hair topper provides effortless volume and reliable coverage, which helps increase personal confidence. However, for many ladies who receive their toppers first, it’s very common to find it difficult to fit the toppers well. If a topper does not sit correctly, it can feel loose, look artificial, or cause physical discomfort. Don’t worry, here are the essential steps to make your topper fit perfectly.
Step 1: Choose the Correct Topper Base Size
You cannot get a perfect fit if choosing the hair topper in the wrong size from the start. A common mistake is purchasing a base that is too small. A small base places the attachment clips directly onto your most sensitive and thinning hair areas. This can cause the piece to slip and lead to hair pain.
To find your correct size, you can use a flexible measuring tape to measure the thinning area from front to back and then from side to side. Always add an extra 0.5 to 1 inch to these measurements. This extra spacing ensures that the clips anchor firmly into your healthy, stronger natural hair, which creates a much more comfortable and secure fit.

Step 2: Prepare Your Natural Hair Foundation
It’s absolutely helpful to prepare your natural hair before placing the hair topper on your head. If your hair is very fine or smooth, the pressure clips may slide out of place during the day.
To prevent sliding, identify exactly where the clips will attach to your head. Gently backcomb the hair at the roots in those specific sections. Then, apply a small amount of dry shampoo or texturizing hairspray onto the backcombed roots. This process adds texture to the hair, giving the clips a firm area to grip and preventing unwanted movement.

Step 3: Apply the ”Scoop and Clip” Technique
The method you use to apply the hair topper determines how flat the base sits against your head. You should never press the clips straight down onto your scalp. Instead, keep all the clips closed on the hairpiece. Hold the topper over your head and align the front edge with your natural hairline, or place it slightly behind the hairline. Start with the front clips. Now open the clip, gently scoop a small amount of your prepared natural hair into the clip before snapping it closed. Repeat this exact process for the side clips.
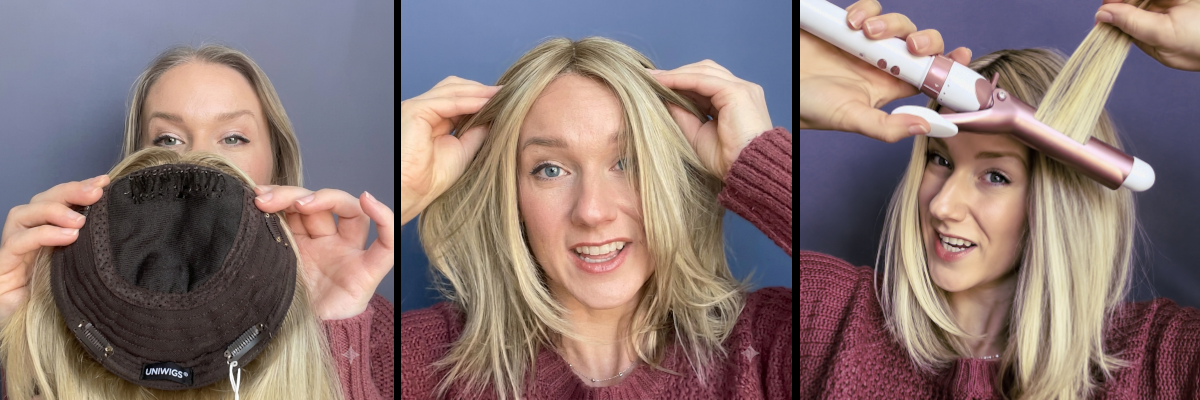
Step 4: Use the Halo Wire for a Secure Fit
If there is not enough hair to grip the topper firmly, the halo wire can be a good solution. Uniwigs provides convenient loops for halo wire application on most of our topper caps. Slip the hairpiece on from front to back, letting the halo wire slide down the back of your head until it rests comfortably around the back of your neck. Then lightly brush your hair out of the wire and let your natural hair fall over the wire to completely hide it, ensuring a flawless look from the back.

Step 5: Blend the Hairline Realistically
The hair line is the most visible part. If you use a lace front hair topper, you can place it directly at your natural hairline. However, if you use a monofilament or silk base, it is best to place the topper about a quarter-inch behind your actual hairline so that your forehead doesn’t look thicker.
Once the topper is securely clipped, use a comb or your fingers to pull your own front baby hairs and natural hair up and over the front edge of the piece. This small amount of natural hair completely covers the edge of the base, making the transition look completely natural.
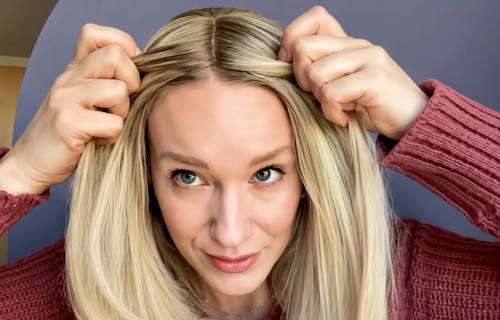
Making a hair topper fit perfectly requires time and practice. Don’t be worried if your first attempt feels slightly loose or looks too high on your head. Adjust the placement, practice backcombing your hair, and select the right styling products for your needs. With proper adjustments, your topper will blend seamlessly into your daily life.